You may also like
- Description
- Application Instructions
- Avis
Highlights:
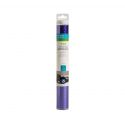
- Available in 5 colours (Silver, Gold, Light Blue, Light Pink and Purple)
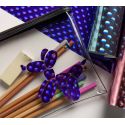
- Sparkly holographic effect
- Recommended for indoor use
- Easy to weed, easy to apply
- Lies flat without tunneling or bubbling for a perfect cut
- Ideal for indoor projects, from custom mugs and shower doors to decorative glassware and much more
- Water resistant vinyl
- Can be cut with all Cricut cutting machines
Contains:
- 1 roll 30x122cm Premium Vinyl Holographic Bubbles
1. Cutting the Film
- Use a flex blade suitable for fine materials like vinyl.
- Adjust the blade depth according to the thickness of the film to avoid cutting too deeply or not cutting completely.
- Ensure that the blade settings are correctly adjusted to guarantee clean and precise cuts. It is recommended to perform a test cut before starting full production.
2. Weeding
- After cutting, proceed with weeding by removing the excess material around the design.
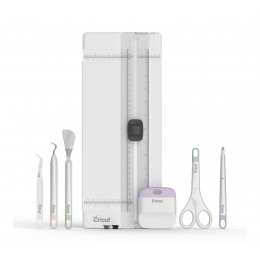
- Use weeding tools (such as a hook or tweezers) to remove the unnecessary parts of the film while being careful not to damage the important parts of the design.
- This step requires precision, especially for detailed designs or small pieces.
3. Transferring the Design
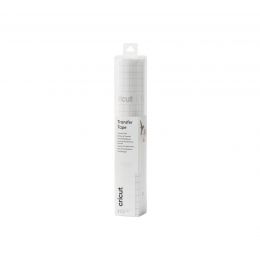
- Apply a transfer tape over the cut design.
- Choose a tape with appropriate adhesion for the material to facilitate the transfer without leaving adhesive residue.
- Use a squeegee to ensure the tape adheres well to the design and make sure it lifts completely from the backing film during the transfer.
4. Applying to the Surface
- Clean the surface where the design will be applied using a suitable cleaning product to remove dust, grease, or other contaminants.
- Position the design with the transfer tape on the surface, checking the alignment and final position before securing it permanently.
- Start from one end of the design and apply it gradually to avoid any distortion.
5. Eliminating Air Bubbles
- Use a soft plastic squeegee to apply the design to the surface, making smooth, regular movements from the center to the edges.
- This technique helps to expel air bubbles and ensures good adhesion of the film.
- If air bubbles persist, gently pierce them with a fine needle and smooth the surface with the squeegee.
6. Removing the Transfer Tape
- Once the design is well applied, slowly remove the transfer tape by pulling it at a low angle (almost parallel to the surface) to avoid lifting the design.
- Check that the entire design is securely fixed to the surface. If any areas are lifting, use the squeegee again to reposition them correctly.
By meticulously following these steps, you will achieve a precise and durable adhesive vinyl application, free of bubbles and defects.
RAS, très beau vinyle
Anonymous A. the 18/10/2022