 Cricut's World
Heat Transfer Vinyl and Flock: How to Use Them and Application Tips
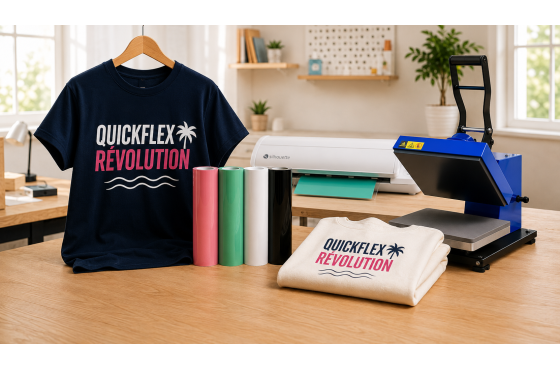
Would you like to customize a T-shirt, sweatshirt, tote bag, or even create your own clothing collection?
Heat transfer vinyl (HTV) and flock heat transfer vinyl are two must-have materials for textile customization.
Suitable for both beginners and professionals, they make it easy to create durable, personalized designs from cut graphics. But to achieve the best results, you need to know which material to choose, how to cut it, and most importantly, how to apply it correctly.
HTV or flock? Which side should you cut? Do you need to mirror your design? What temperature should you use? How can you prevent your design from peeling off?
In this guide, we'll show you how to use heat transfer vinyl and flock step by step, along with our tips for achieving a clean, professional and long-lasting finish.
The principle is similar: both heat transfer vinyl (HTV) and flock heat transfer vinyl are materials designed to be cut and then applied to fabric using heat and pressure.
The main difference lies in their appearance and feel.
| Heat Transfer Vinyl (HTV) | Flock Heat Transfer Vinyl | |
|---|---|---|
| Appearance | Smooth and clean | Matte and slightly raised |
| Feel | Thin and flexible | Soft, with a velvet-like feel |
| Thickness | Generally thinner | Thicker |
| Finish | Modern and precise | Warm and textured |
| Ideal for | Logos, text, illustrations and detailed designs | Lettering, numbers, logos and designs where a raised, textured effect is desired |
The choice therefore depends primarily on the look and feel you want to achieve with your design.
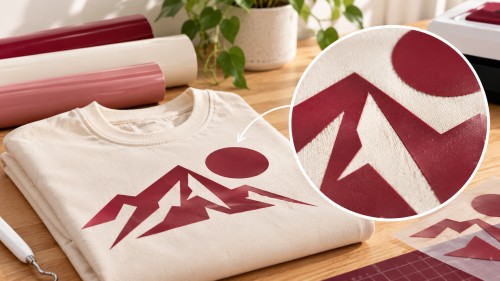
Heat transfer vinyl (HTV) is particularly popular for its versatility. Once heat-pressed, it generally provides a thin, smooth finish that conforms well to the fabric.
It is also available in a wide variety of finishes, including classic colours, metallic, glitter, reflective, fluorescent and textured effects.
Plenty of options to bring all kinds of creative ideas to life.
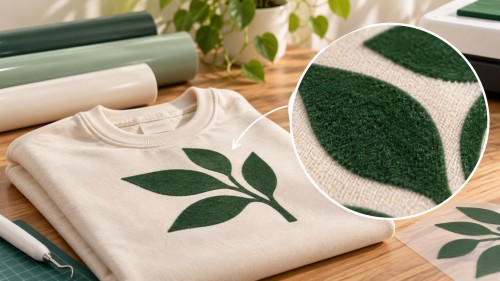
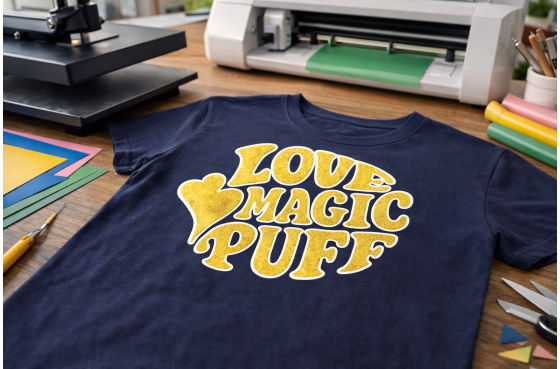
Flock heat transfer vinyl stands out for its soft, velvety feel.
Thicker than standard HTV, it adds texture and dimension to the design, making it particularly suitable for lettering, numbers, logos or creations where a more tactile, raised finish is desired.
Before you get started, prepare your workspace.
To customize textiles using heat transfer vinyl (HTV) or flock heat transfer vinyl, you will generally need:
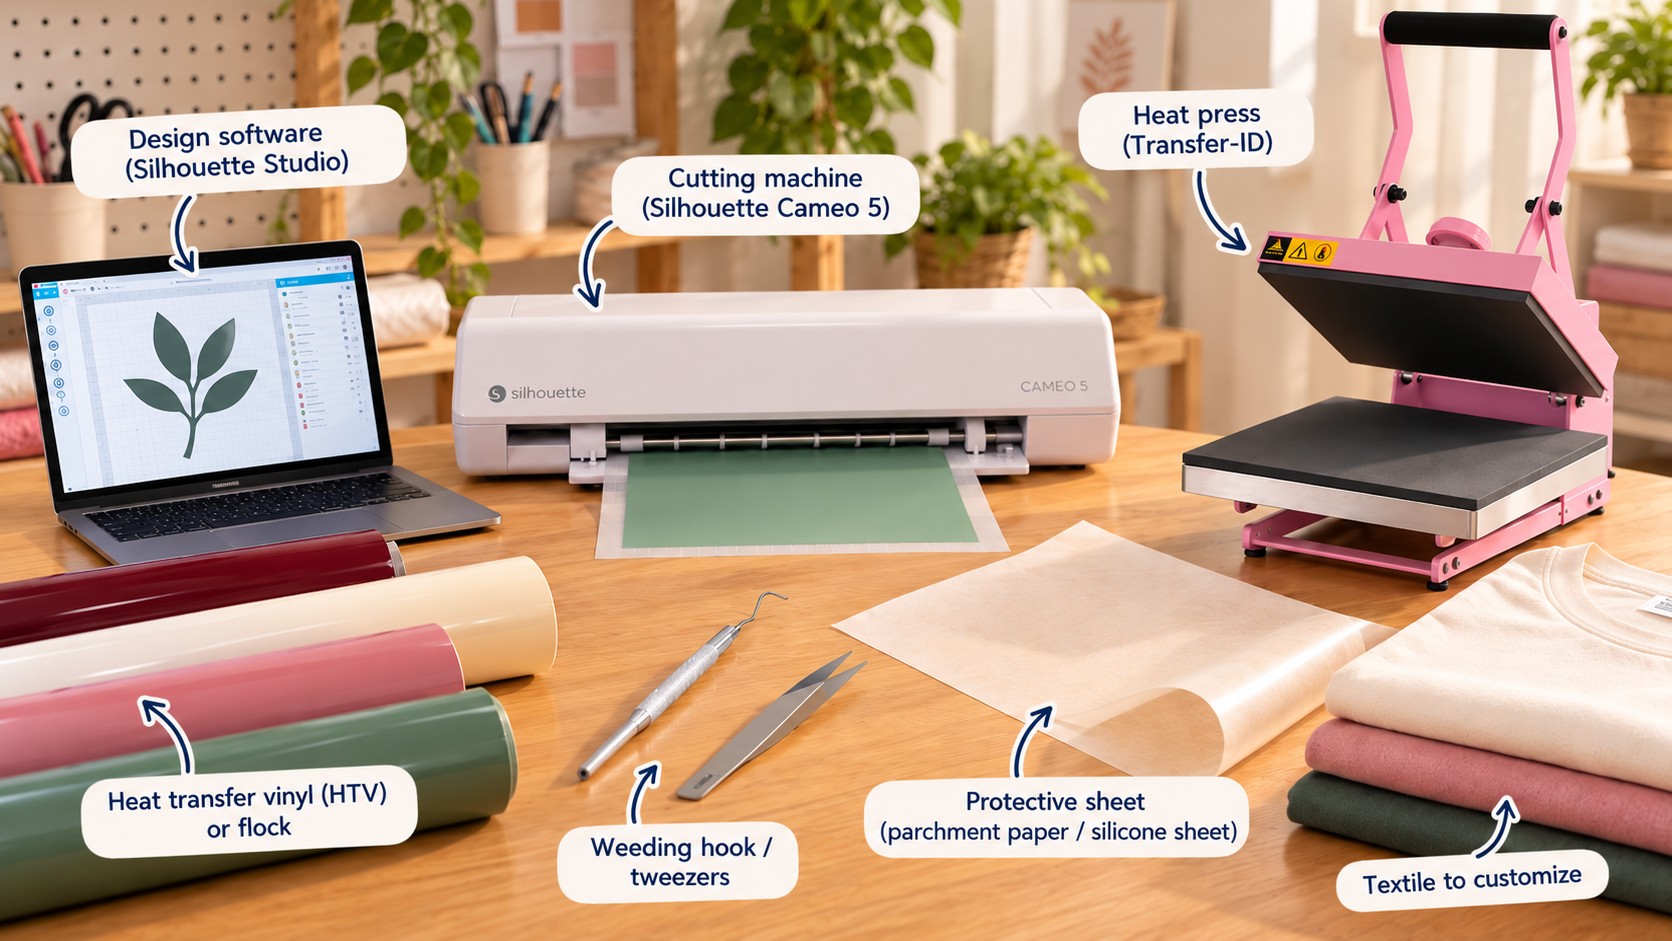
Before applying any material, always check the technical data sheet for the product you are using. Temperature, pressing time, pressure and peel method may vary from one HTV or flock product to another.
Now let’s get practical.
Although specifications may vary depending on the product, applying heat transfer vinyl (HTV) generally involves a few key steps.
Start by creating or importing your design into your cutting machine software.
Text, logo, illustration, name… make sure your file is clean and suitable for precise cutting and weeding.
Important: remember to mirror your design!
This is probably one of the most common mistakes when you’re new to HTV.
For most heat transfer vinyl products cut on their carrier sheet, your design needs to be mirrored horizontally before cutting.
Why? Simply because once it has been cut, the design will be flipped over before being positioned on the fabric.
It’s a small detail that can quickly turn “Hello” into… something much harder to read!
The correct positioning depends on the product and equipment you are using.
For standard heat transfer vinyl with a carrier sheet, the blade generally cuts through the heat transfer vinyl layer while leaving the transparent carrier intact.
Make sure you correctly identify which side needs to be cut before starting your cutting machine.
If in doubt, always refer to the instructions provided for your specific HTV product.
Select the settings that are suitable for your material: blade pressure, blade depth, cutting speed, etc.
Doing a test cut can save you a lot of trouble, especially when using a new type of HTV.
The goal is simple: cut through the material correctly without cutting through the carrier sheet.
Once the cutting is complete, it’s time for weeding.
This step involves removing all the unwanted pieces of HTV so that only your design remains on the carrier sheet.
It is generally best to start by removing the larger areas around the design, then move on to the smaller details, such as the inside of letters, negative spaces and fine elements.
Take your time: precise weeding directly contributes to the quality of the final result.
Your design is ready. Now it’s time to move on to the heat press.
Lay your garment or accessory flat.
Depending on the fabric and the manufacturer’s recommendations, a short pre-press can help remove any residual moisture and wrinkles before application.
Then position your design where you want it, with the protective carrier sheet facing towards you.
Before pressing, check one last time:
Is it straight? Centred? At the right height?
A few seconds spent checking can save you from discovering after pressing that your logo is leaning dangerously to the left!
This is where one rule is particularly important: there is no universal temperature that works for every type of HTV or flock.
The required temperature, pressing time and pressure depend not only on the material being used, but also on the fabric it is being applied to.
Always follow the settings specified in the technical data sheet for your product.
A temperature that is too low, a pressing time that is too short or insufficient pressure can affect adhesion. Conversely, excessive heat can damage the HTV or the fabric.
Once everything is correctly positioned, heat press your design according to the product recommendations.
The combination of temperature + pressing time + pressure plays an essential role in achieving a successful transfer.
This is a small detail that can make a big difference.
Depending on the HTV you are using, the carrier may need to be removed hot, warm or cold.
Don’t automatically rely on your usual method. Always check the instructions for the specific product you are using.
Then carefully remove the carrier sheet. If some areas do not appear to be properly bonded, do not continue pulling. Reposition the carrier and check the application instructions before pressing again, if the product allows it.
Good news: the process is the same as for HTV.
Preparing your design, mirroring it when required by the product, cutting, weeding, positioning and heat pressing: the main steps remain the same.
The key difference lies in the material itself.
As flock is generally thicker and more textured, its cutting and pressing settings may differ from those used for standard heat transfer vinyl.
Once again, the best approach is simple: follow the settings recommended for the specific flock product you are using rather than automatically applying the settings you normally use for HTV.
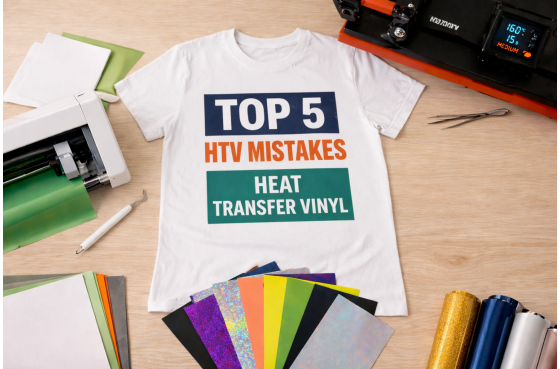
If a transfer starts peeling or a design doesn’t turn out as expected, it doesn’t necessarily mean that the material is at fault.
A few common mistakes can be enough to affect the final result.
Forgetting to mirror your design. This is a classic mistake. Get into the habit of checking your artwork just before every cut.
Using the same settings for every material. Two HTV products can have very different specifications. Cutting settings, temperature, pressure and pressing time should be adjusted for each product.
Overlooking pressure. Temperature and pressing time often get the most attention, but pressure is just as important for achieving proper adhesion.
Cutting too deeply. Your blade should cut through the material without unnecessarily cutting through the carrier sheet.
Removing the carrier too soon. If your HTV requires a cold peel, resist the temptation to reveal the result straight away!
Customizing an incompatible fabric. Not all HTV products are suitable for every type of fabric. Cotton, polyester, technical fabrics and heat-sensitive textiles may require different products and application settings.
A great-looking customization deserves a little care to keep it looking its best over time.
Recommendations may vary depending on the material used. It is therefore important to check the manufacturer’s instructions, particularly regarding how long to wait before the first wash, the maximum washing temperature and whether the garment is suitable for tumble drying.
A few good habits can still help: wash the garment inside out when recommended and avoid applying a hot iron directly to the design.
Your creation will thank you!
Ultimately, it all depends on your project.
Choose heat transfer vinyl (HTV) if you are looking for a thin, clean and versatile finish, or if you want to take advantage of a wide variety of colours and effects.
Opt for flock heat transfer vinyl if you want more texture, a slightly raised finish and, above all, that distinctive soft, velvety feel that makes flock so unique.
And of course, there’s nothing stopping you from experimenting with both to explore even more finishes and creative possibilities.
You now know the main steps for using heat transfer vinyl (HTV) and flock heat transfer vinyl.
Preparing your design, cutting, weeding, positioning and heat pressing: with the right settings and a little practice, these materials make it easy to transform an ordinary textile into a unique, personalized creation.
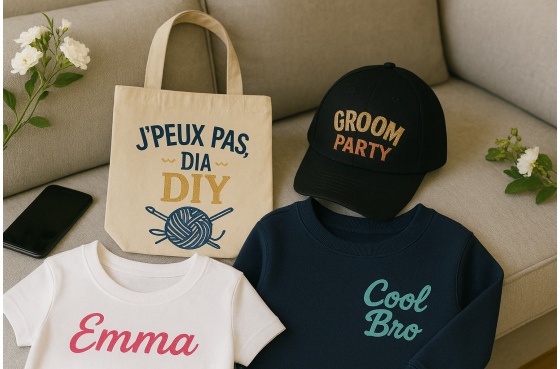
T-shirts, sweatshirts, tote bags, workwear, accessories or designs for special events… the rest is up to your imagination.
Above all, remember one essential rule: always check the technical specifications of your HTV or flock before application.
Just a few degrees or a few seconds can make all the difference!
Now all that’s left to do is choose your material, prepare your design and let your creativity take over.
100% secure
payment
Fast delivery
from 24 to 72H*
*Depending on the carrier
Free shipping on
orders over €150*
*Metropolitan France
Customer service at
+33 6 47 80 92 20
Certifications
Oeko-Tex and EVE Vegan