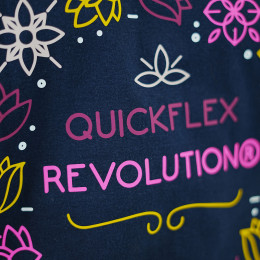
Transfer-ID
Transprint
€40.13
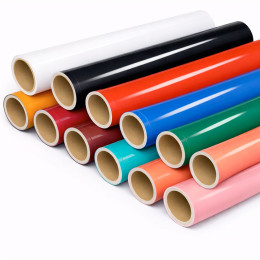
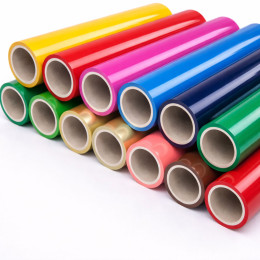
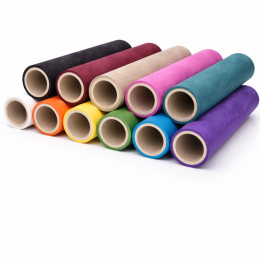
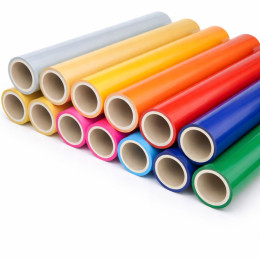
Unleash your creativity with our range of printable vinyls, compatible with eco-solvent printers. Whether you're an independent creator, a sign and marking professional, or a DIY enthusiast, our vinyls let you easily print and cut your own stickers, labels, logos, and custom designs.
Need help? Check out our guides, comparison charts, and tutorials to choose, print, and apply your printable vinyl like a pro.
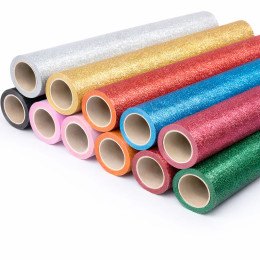
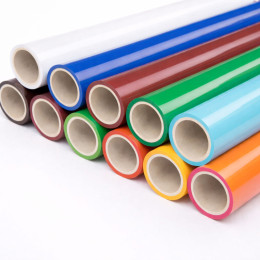
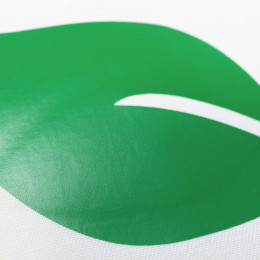
Printable vinyl is a flexible self-adhesive plastic film specially designed for ink printing. Unlike regular cutting vinyl, which can only be cut, printable vinyl allows you to transfer a design, pattern, or text directly onto the vinyl surface from an printer (eco-solvent type).
It is composed of several layers:
An ink-receptive surface (usually white matte or glossy)
An adhesive layer
A protective liner to remove before application
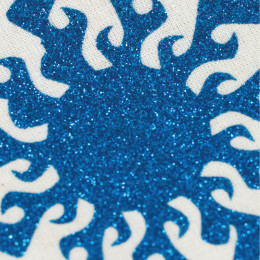
Printable vinyl offers a simple and professional solution to create durable stickers, custom labels, or visual decorations—whether at home or in a professional workshop.
Printable vinyl is extremely versatile, suitable for both creative and professional uses:
| Application | Examples | Key Benefits |
|---|---|---|
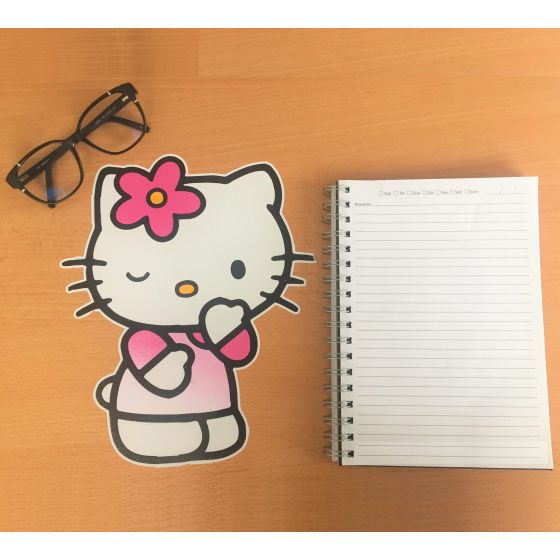
| Custom Stickers | Laptops, suitcases, phones, notebooks, skateboards | Original, durable, print-on-demand |
| Product Labels | Candles, cosmetics, jars, handmade items, packaging | Professional look, easy to produce, customizable |
| Object Decoration | Jars, furniture, bottles, mirrors | Perfect for makeovers and personalized gifts |
| Temporary Signage | Events, trade shows, commercial displays | Quick to produce, low-cost, easy to remove |
| Creative Hobbies / Scrapbooking | Cards, journaling, photo albums, planners | Fun and highly customizable |
When choosing your printable vinyl, consider your printing method, final use, and desired finish. Here’s a quick guide:
| Vinyl Type | Finish | Printer Compatibility | Main Advantages |
|---|---|---|---|
| White Matte | Matte | Inkjet / Laser | Easy to print, good color rendering |
| White Glossy | Glossy | Pigment Inkjet | Premium look, vibrant colors |
| Transparent | Glossy | Pigment Inkjet | Perfect for light backgrounds |
| Waterproof Outdoor | Matte or Glossy | Pigment Inkjet | Moisture and UV resistant |
| Printable Heat Transfer | Matte | Inkjet / Sublimation | Allows printing on fabric using a heat press |
Good to know:
For outdoor use, choose waterproof vinyl.
For transparent designs, use clear vinyl.
For intricate shapes, pick vinyl compatible with a cutting machine.
Printable vinyl is easy to use, but every step matters for a clean, professional, and durable result. Follow this step-by-step guide to get the best outcome from your sheets or rolls.
Design your artwork using a graphics software (Canva, Illustrator, Silhouette Studio, etc.). Use a PNG format with a transparent background for best results—especially if you plan to do precise cutting after printing.
Load the printable vinyl into your printer, following the material’s compatibility. The printable side is usually:
Matte or slightly satin (avoid the glossy side if not intended for printing)
Clearly marked on the packaging or confirmed through a test print.
Use photo or high-quality mode and adjust the paper settings for optimal ink adhesion.
Wait 3–10 minutes before handling. This allows the ink to set and prevents smudging—especially important if you plan to cut or laminate later.
You can cut your printed design:
By hand with scissors or a craft knife (for simple shapes)
With a cutting machine (Cricut Maker, Explore, Joy, Silhouette Cameo, etc.) for precise and repetitive cutting.
For fine cuts:
Use the contour or offset function in your design software (e.g. “Print then Cut” feature).
Avoid overly detailed shapes if your equipment isn’t precise enough.
To improve the durability of your printed vinyl—especially for outdoor use or high-contact objects:
Apply a clear varnish spray (matte or glossy)
Or use a cold lamination film for a professional, waterproof, and UV-resistant finish.
Flip the sheet over and peel off the protective backing (liner) to reveal the adhesive side of the vinyl.
Note: Some vinyls require transfer tape for accurate positioning, especially for lettering.
Stick the printed vinyl onto a clean, smooth, and dry surface such as glass, plastic, paper, metal, or varnished wood. Smooth out air bubbles using a squeegee or a rigid card.
Pro tip for large surfaces: Work in sections and use transfer tape for perfect alignment.
Printing on vinyl lets you create durable, professional-quality labels, stickers, and custom graphics. Follow this complete step-by-step method for best results and avoid common pitfalls.
Recommended format: PNG with transparent background or vector PDF for logos
Minimum resolution: 300 dpi for crisp output
Use the manual feed tray if available (especially for laser printers)
Always print on the ink-receptive side (usually matte or glossy)
| Printer Type | Quality Setting | Media Type | Additional Notes |
|---|---|---|---|
| Inkjet | High / Photo | Photo paper or matte film | Use pigment inks if possible |
| Laser | Standard / Label | Thick paper or adhesive | Activate “bypass tray” |
| Eco-solvent | Production / Photo | Specific vinyl media | Use RIP software with ICC profiles |
Tip: Download ICC profiles from major manufacturers (Avery, Orafol, Mactac, etc.) for accurate color reproduction.
Wait 5–10 minutes before handling
This prevents smudges and ink transfer
Clear varnish spray: ideal for temporary use
Cold lamination film: protects against UV, humidity, and scratches
Here are the most frequent issues that can affect your results—and how to prevent them:
| Mistake | Result | Solution |
|---|---|---|
| Printing on the wrong side | Ink doesn’t dry, blurry result | Test the printable side first |
| Using default printer settings | Dull colors, poor details | Select “photo” or “label” mode |
| Low-resolution artwork | Pixelated or blurry design | Always work at 300 dpi |
| Insufficient drying time | Smudges, ink lift-off | Wait at least 5 minutes |
| Incorrect paper loading | Misalignment, paper jam | Load flat and straight in the tray |
| No protective coating | Less durable, sensitive to water and UV | Apply varnish or cold lamination film |
Pro tip: For outdoor or heavy-use projects (bags, vehicles, frequently handled items), choose waterproof vinyl with a transparent lamination film for maximum protection.
100% secure
payment
Fast delivery
from 24 to 72H*
*Depending on the carrier
Free shipping on
orders over €150*
*Metropolitan France
Customer service at
+33 6 47 80 92 20
Certifications
Oeko-Tex and EVE Vegan