Customise a tote bag with cutting flex
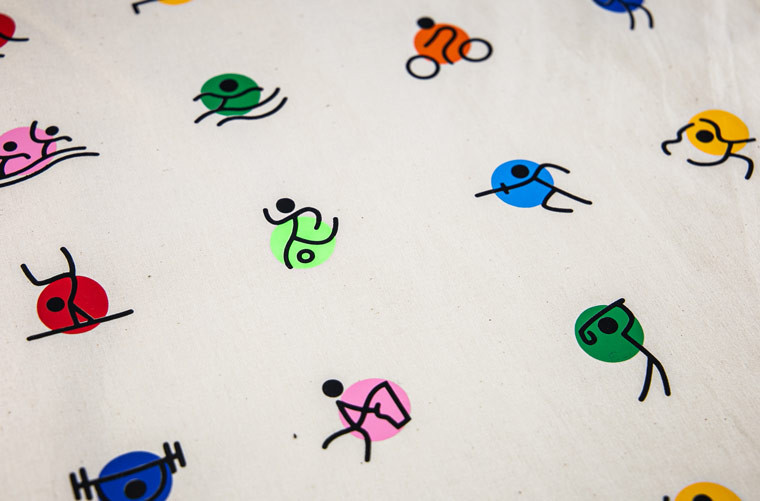

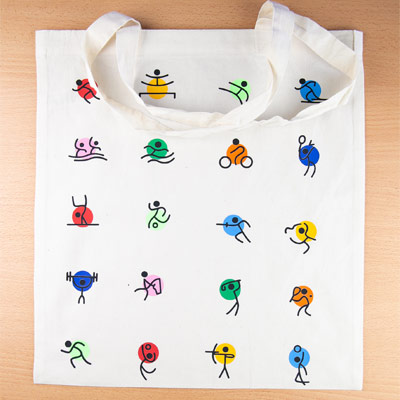
For the Olympics, we made a tote bag with Transflex. In this tutorial we show you how to personalise your creations using the puzzle technique.
The idea is to cut out each element of the creation in the desired colour and then press them together like a puzzle. This technique allows you to make multi-coloured creations with cutting flex without having to overlap them.
For this tutorial, we used the Cricut Maker cutting machine but the puzzle technique can be used with any cutting machine.
Now that you know what the puzzle technique is for, we can move on to the practice part!
Before we even start preparing the design, we have to decide which cutting flex we want to use for the creation. For the Olympic themed designs we decided to use Transflex.
Why did we choose the Transflex?
Transflex is quick to apply (7s) and can be peeled off while hot, which is very practical when you need to apply several colours, like on our Olympic Games creations. Moreover, it offers a great matt finish to the creations and is available in more than 15 colours.
Now that we have chosen our product, we can move on to creating and preparing the file for your machine.
We will explain in detail three solutions that will help you get the perfect files for using the puzzle technique. Two solutions are compatible with Cricut Design Space software and one is compatible with Silhouette Studio software.
We will use an example design to help you better understand the solutions we offer. All three solutions are explained in the video below.
Example design :

Solution 1: Use an SVG file
This solution is compatible with the Cricut Design Space software. For this solution, we will need an SVG file to import into Cricut Design Space. Here are the steps to follow:
- Download your SVG design into Cricut Design Space
- Right click on the design and select "Ungroup"
- Then select only the green background and the character (hold the SHIFT key on your keyboard to select both parts)
- Then click on the "Cut" tool at the bottom right of your screen (this step may take 1-2 seconds)
- Repeat the operation with the balloon, making sure you always have your green background in the background
If your design has more parts, just repeat the operation as many times as necessary. This way you will have a design with all the necessary cuts for the puzzle technique.
Solution 2: Use a PNG file
This solution is compatible with the Cricut Design Space software. For this solution, we will need a PNG file to import into the software. Here are the steps to follow:
- Upload your PNG design to Cricut Design Space
- Using the magic wand, remove the character and balloon
- Insert the image
- Upload your PNG design again
- This time use the magic wand to remove the green background
- Insert the image
- Reposition and group your elements, you can adjust the size of your design
A little tip: assign a different colour to your two elements. Each coloured element will be placed on a different mat to save time when cutting.
Solution 3: Using two PNG files
This solution is compatible with the Silhouette Studio software. For this solution, we will need two PNG files. Here are the steps to follow:
- Open the 1st file in Silhouette Studio
- Open the 2nd file in Silhouette Studio
- Cut the 2nd file and paste it into the window of the 1st file
- Adjust the size of your design
- Use the vectorisation tool to get your cutting lines
Video explanations (in French)
Your files are ready, all you have to do is start cutting! For your cutting settings, you can use our guides on the machine product sheets.
We still recommend that you do some testing before you start!
With your designs cut out, all that's left to do is to weed them out and apply them. For our Olympic Games tote bag, we used the EasyPress Mini from Cricut. It's super handy (especially fast) for making small designs.

100% secure
payment
Fast delivery
from 24 to 72H*
*Depending on the carrier
Customer service at
+33 9 67 04 74 21
Certifications
Oeko-Tex and EVE Vegan
